


 Hard Drive Recovery
 Deleted Files Recovery
How to Fix “The Recovery Server Could Not Be Contacted”

When attempting to install, update, or reinstall macOS on your Mac or Hackintosh, you might come across a frequent error known as 'The recovery server could not be contacted.' This issue has been reported across various macOS versions, including Ventura, Monterey, Big Sur, Catalina, Mojave, High Sierra, and Sierra. Don’t worry, in the following discussion, we will explore the reasons behind the occurrence of the "Mac recovery server could not be contacted" error and learn how to resolve it quickly.
Part 1: What is the meaning of 'The recovery server could not be contacted'?
"The recovery server could not be contacted" means that your device is unable to establish a connection with the designated server responsible for assisting with recovery processes. This error typically occurs when trying to install, update, or reinstall macOS. It suggests that there may be a problem with the network connection or the server itself, preventing your device from accessing the necessary resources for recovery operations.
Part 2: How to Fix“The Recovery Server Could Not be Contacted”on Mac?
To resolve the "Recovery server could not be contacted" error, you can try the following steps:
- Method 1: Check your network connection
- Method 2: Check Apple's server status
- Method 3: Update Date&Time with Apple Recovery Server
- Method 4: Use the macOS Installer
Method 1: Check your network connection
Ensure that your Mac or Hackintosh is connected to a stable and reliable internet connection. Verify if other internet-dependent services are working properly.
Method 2: Check Apple's server status
Visit Apple's System Status webpage or relevant online forums to verify if there are any reported issues with the recovery servers. If there is a known outage, you may need to wait until the server is restored.
Method 3: Update Date & Time with Apple Recovery Server
Go to the Apple menu > System Preferences , Click Date & Time, and enable "Set date and time automatically“.
After selecting Time Zone, you can enable "Set time zone automatically using your current location”.
However, if you are in Recovery mode, you can’t just go to System Preferences, so you’ll need to go to Terminal.
Step 1: click the OK button on the error > return to the macOS Utilities window> Click Utilities from the top Apple menu bar > select Terminal
Step 2: Type sudo ntpdate -u time.apple.com command in Terminal and hit Enter.
If the previously mentioned command failed to resolve the issue of the recovery server not being contacted on your Mac, you can try the following steps:
Step 1: Launch the Terminal application and type "date".
Step 2: If the displayed settings are incorrect, you can manually set the current time using the following format: date mmddhhmmyy. For example, if it is June 10th, 2023, at 07:00 AM, you would type "date 0610070023" (June 10, 07:00am, 2023).
Step 3: Once you have corrected the date and time settings, attempt to reinstall macOS again. Run the installer for Catalina or Mojave once more, as this may help resolve the error related to internet recovery.
By manually adjusting the date and time settings in Terminal, you can ensure they are accurate and increase the chances of successful macOS reinstallation without encountering the recovery server error.
Method 4: Use the macOS Installer
To prevent encountering the "recovery server could not be contacted" error in Mojave, High Sierra, Catalina, or Big Sur, an alternative approach is to reinstall macOS using the full version of the macOS installer instead of relying on the "Reinstall macOS" option in Mac Recovery Mode.
Part 3: How to recover lost data after Mac update or installation
If you have experienced data loss or missing files after resolving the "The recovery server could not be contacted" error and successfully updating or reinstalling macOS on your Mac, you can rely on AnyRecover to retrieve them.
Anyrecover is all-in-one data recovery tool to get back data from Mac, Windows and iPhone devices. Its Mac Recovey specializes in recovering data lost due to macOS updates, macOS reinstallation, factory resets, clean installations of macOS, and more, supporting both Intel and Apple Silicon (M1 & M2) Macs.
AnyRecover is compatible with various file types, including photos, videos, documents, emails, and audio files, among others. Additionally, it provides a free preview feature that allows you to preview the recoverable files before initiating the recovery process. Also, AnyRecover not only helps you recover lost files but also repairs damaged files.
Here're the 3 steps to retrieve your lost or deleted data on Mac:
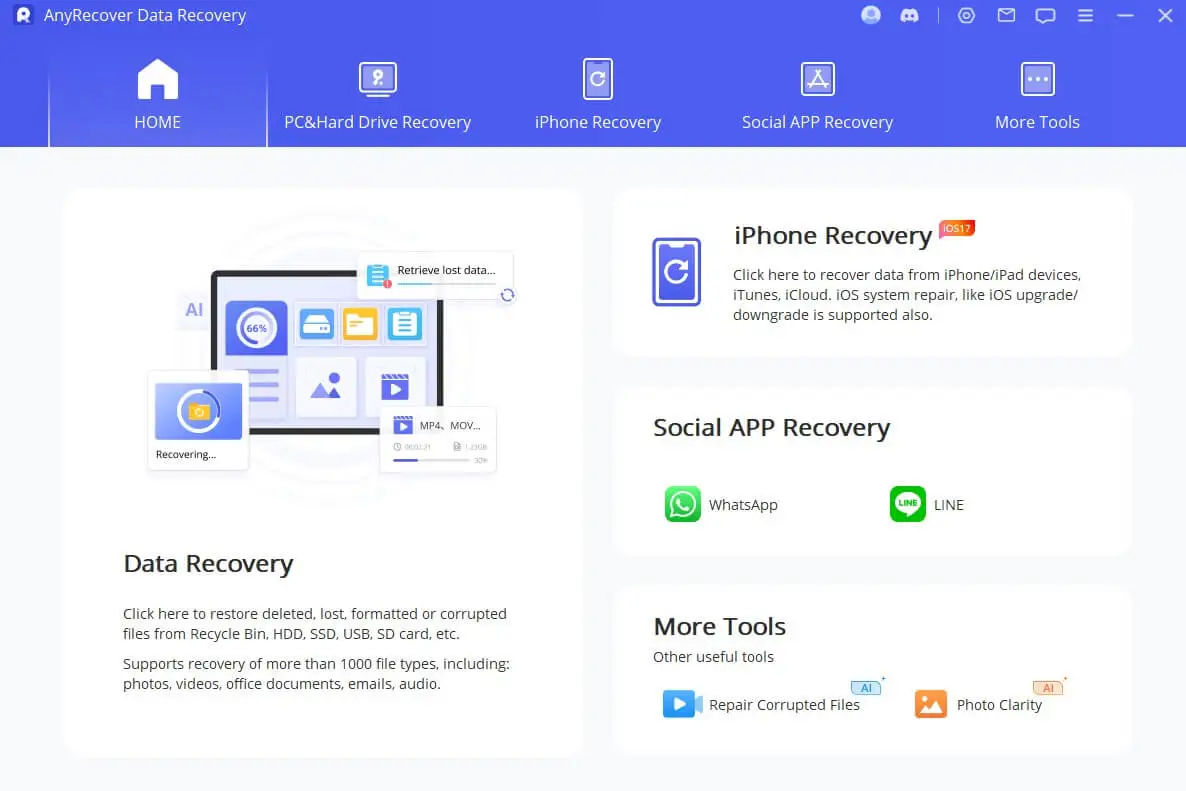
Step 1: Select a Location
Free download and install AnyRecover on your Mac. Launch the software, select “Data Recovery”. You can select the location from where you lost data and want to recover.
Step 2: Scan the Selected Location
The scanning will take some time to look for all Mac files. You can review and search for your documents based on their file type.
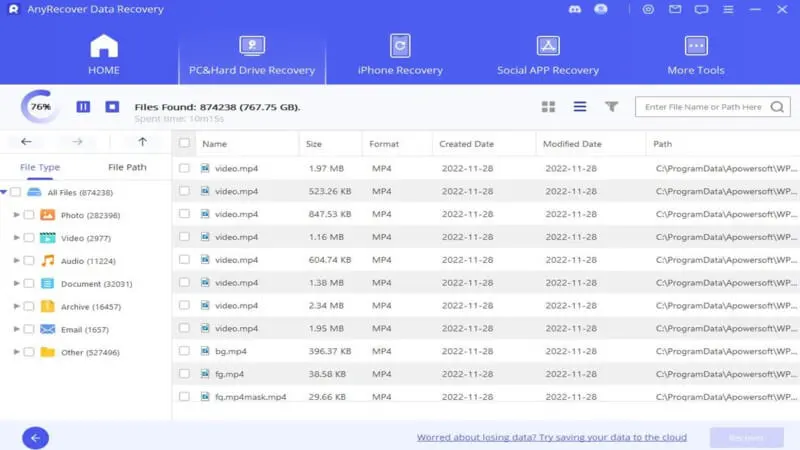
Step 3: Recover Lost Mac Files
When the scanning is completed, all files will be neatly listed. AnyRecover allows you to preview the Mac files and recover them selectively; the recovered files will retain their original quality.

Conclusion
Numerous Mac users have encountered the "Mac recovery server could not be contacted" error. Like any issue, this error can be resolved by following specific steps. Additionally, to safeguard against potential data losses during macOS updates, it is crucial to create regular data backups. In the event of data loss, you can effortlessly recover your files using AnyRecover.
Rated successfully!
You have already rated this article, please do not repeat scoring!
![]()
![]()
![]()
![]()
![]()
![]()
![]()
![]()
![]()
![]()
![]()
![]()
Copyright © 2023 AnyRecover. All rights reserved.
Time Limited Offer
for All Products
Not valid with other discount *